
A point-of-sale display gives a product added visibility right where shoppers make their final purchase decision. Unlike shelf placement, which competes with dozens of neighboring products, a POS display puts one item (or a tight group of items) directly in front of a customer who's already committed to buying something.
For US retailers and brands, that moment matters. POS displays can present add-on products, reinforce active promotions, simplify last-minute decisions, and support impulse or cross-selling without requiring a redesign of the whole store. This guide covers what counts as a POS display, how it differs from point-of-purchase (POP) merchandising, the major display formats with real examples, and the practical criteria for picking the right one.
Key Takeaways
- A POS display is a branded unit at or near checkout that influences the final purchase.
- POS displays are checkout-specific; POP displays can appear anywhere in the store.
- Main formats include countertop, freestanding, dump bin, shelf, and digital fixtures.
- Product size, shopper behavior, store space, campaign length, and budget drive format choice.
- Effective displays are easy to see, understand, reach, restock, and maintain.
What Is a Point-of-Sale Display and Why Is It Important?
A point-of-sale display is a physical or digital merchandising asset positioned at or close to the checkout or transaction area. It's built for the specific stretch of real estate where a customer is already holding their wallet.
Common uses include:
- Presenting small add-on products (batteries, lip balm, phone accessories)
- Promoting a seasonal offer or limited-time discount
- Communicating pricing clearly, without a shopper having to hunt
- Highlighting a product benefit in a few words
- Prompting a last-minute, low-commitment purchase
POS vs. POP: The Distinction That Matters
People use "point of sale" and "point of purchase" interchangeably, but they're not the same thing. Repsly draws a clear line between displays positioned near the register and broader POP fixtures like freestanding units, dump bins, and clip strips found throughout the store.
All POS displays are POP displays, but not all POP displays are POS displays. A floor display in the pet food aisle is POP. A countertop rack of dog treats next to the register is POS.
The Silent Salesperson Role
A well-placed POS display acts as a final reminder. The shopper has already decided to buy something; the display just makes one more product relevant, visible, and easy to reach. No pitch required.
What happens without a deliberate strategy? A few predictable problems:
- Cluttered counters that slow down the checkout line
- Unclear pricing that creates hesitation or questions for cashiers
- Inaccessible products stuffed behind other merchandise
- Inconsistent branding that looks like an afterthought
- Displays that physically block scanning, bagging, or payment terminals
Chicago Show's Checkout Racking project for Lowe's shows this done well: it wraps a beverage cooler with shelves for bottled water, snacks, candy, and magazines, concentrating impulse products at the front end without creating a bottleneck near the exit.

Types of Point-of-Sale Displays
POS displays vary by placement, construction, how shoppers access the product, how long the campaign runs, and how much interaction is involved.
Countertop Displays and Counter Display Units (CDUs)
Countertop units and CDUs are compact fixtures built for small products: accessories, samples, gift items, or other grab-and-go merchandise. They keep products in the shopper's direct line of sight while using minimal counter real estate.
A good example is a branded counter unit for automotive accessories or consumer packaged goods. The design has to fit the product, keep checkout space usable for cashiers, and stay easy to restock during a shift.
Chicago Show's Dunlop Motorcycle Tires Counter Display illustrates this well: a molded counter unit featuring an oversized tire tread section, a mounted tire sample, and rebate messaging offering up to $40 off. It educates and sells in the same compact footprint.
Freestanding and Floor Displays
Freestanding units create a dedicated product zone without relying on existing shelving. They work well for product launches, seasonal campaigns, high-visibility promotions, and larger product groupings that need more than a counter's worth of space.
Before installing one, assess:
- Footprint – does it fit without blocking traffic flow?
- Sightlines – can shoppers see it from a distance?
- Stability – will it stay upright as products are removed?
- Accessibility – can customers (and staff) reach it comfortably?
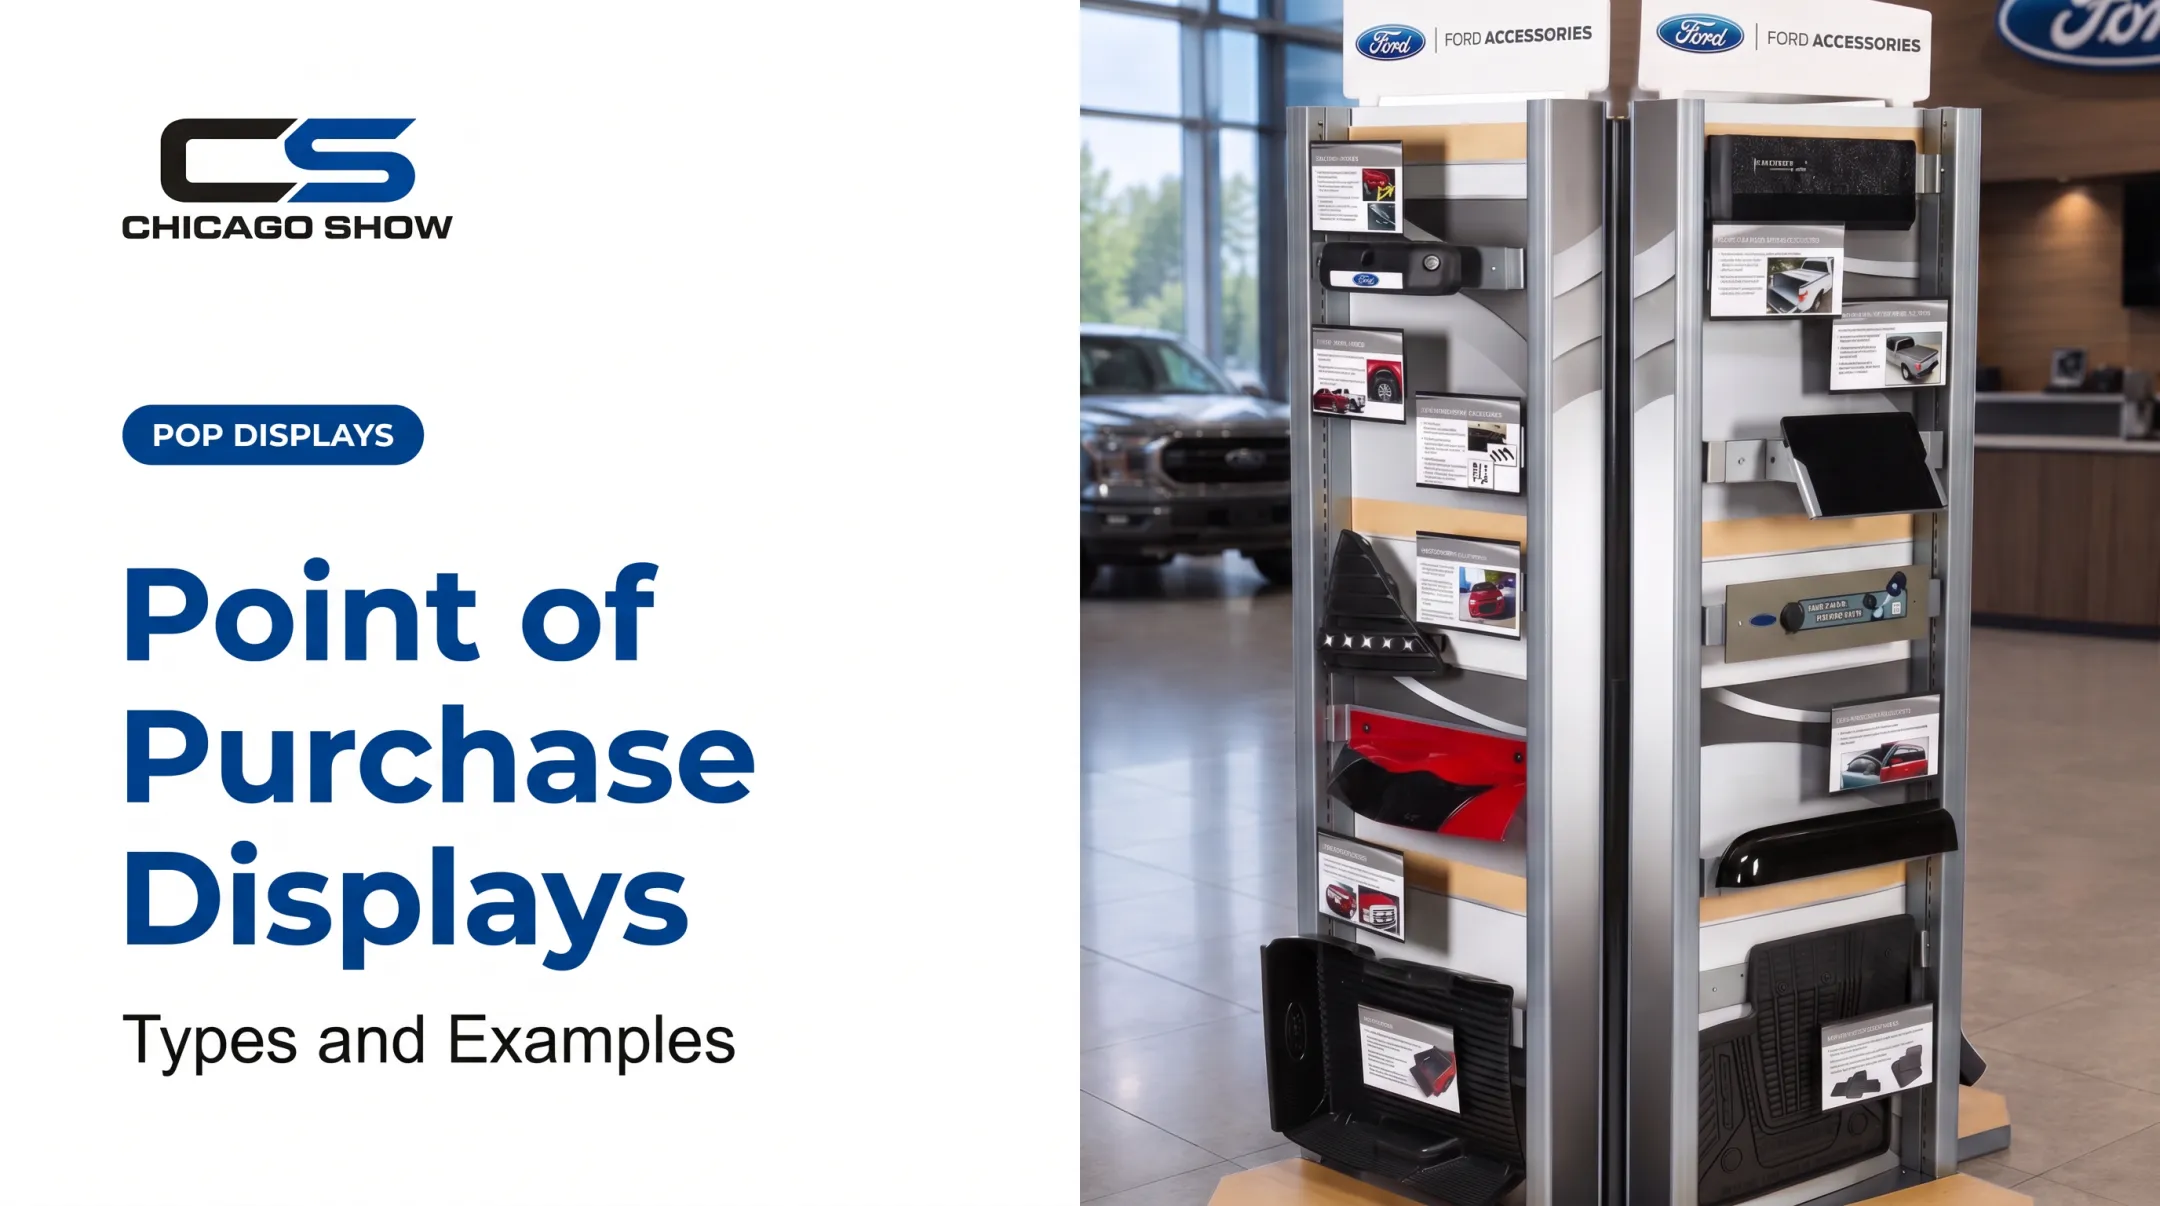
Chicago Show's Ford Accessories Showcase is a good example: a double-sided showroom tower with product-information cards, designed for organized accessory merchandising in a dealership environment where shoppers browse before buying.
Retailer-specific rules matter here too. Kroger's own display guide, for example, caps a "micro tower" floor fixture at 45 inches high, 11.5 inches wide, and 12 inches deep, with a minimum 2-inch shelf lip for stability. Dimensions like these vary by retailer, so confirm specs before committing to a design.
Dump Bins, PDQs, and Gravity-Feed Displays
These three formats get grouped together because they all prioritize speed and volume over polish.
| Format | What it is | Best for |
|---|---|---|
| Dump bin | Open container for bulk product | High-volume, low-price items |
| PDQ | Pre-packed tray, ready to shelve or display | Fast rollout, minimal setup labor |
| Gravity-feed | Products slide forward as items are removed | Self-facing shelf or counter use |
The trade-off is quick setup and high capacity, at the cost of a less premium presentation. Products can look disordered as a bin empties, and fragile or high-value items generally don't belong in an open bin.
TPH Global's catalog shows gravity-feed units used for items like bouillon cubes: small, uniform products that hold their shape as they're pulled forward.
Shelf Talkers, Sidekicks, and Signage
Shelf talkers, shelf stoppers, sidekick attachments, posters, and price signs interrupt a shopper's view at the exact moment they're looking at a product. They're small, low-cost, and effective when the message is tight.
Use concise signage to:
- Flag a promotion or limited-time offer
- Call out a product benefit or new feature
- Point shoppers to a compatible accessory
Keep copy legible from a normal walking distance and consistent with the rest of the campaign's branding. A sign that contradicts the display next to it undermines both.
Digital, Lighted, Interactive, and Specialty Displays
This category covers lightboxes, digital screens, QR-enabled displays, touchscreens, motion elements, product dispensers, and hands-on demonstration fixtures. They add illumination, movement, information, or participation that static displays can't.
Chicago Show's Interactive Demo Unit for Monroe is a hands-on counter display with graphics promoting "Feel the Difference" and "Improve Control and Handling." It lets shoppers physically engage with the product story rather than just reading about it.
Before choosing a digital or interactive format, confirm:
- Power or battery access at the planned location
- Who updates content, and how often
- Maintenance responsibility if something breaks
- Accessibility and safety requirements
- Connectivity needs (Wi-Fi, cellular)
- Retailer approval — some chains restrict electrical fixtures entirely
That last point is worth taking seriously. TPH Global's Walmart vendor guidance notes that electrical elements, including screens, lights, and batteries, aren't permitted in certain display categories. Rules like this vary by retailer, so check before investing in a lit or digital build.
Permanent, Semi-Permanent, and Temporary Formats
Material choice should follow campaign length, not aesthetic preference.
- Temporary displays typically run under three months, often built from corrugated stock or thin plastic.
- Semi-permanent units cover the stretch up to a year, usually heavier corrugated, plastic, or light metal.
- Permanent fixtures are built for over a year of service, typically metal, hardwood, or engineered plastics.
Chicago Show's Branded Fixtures & Furniture work, including steel-frame shop stools with engraved wood-seat logos, falls into the permanent category: built for multi-location rollout programs expected to last years, not weeks.
How to Choose and Finalise a Point-of-Sale Display
How to Choose and Finalize a Point-of-Sale Display
The right display is determined by the product, the shopper's behavior, the retail environment, and operational requirements. The most elaborate format is rarely the right choice.
Define the Display's Purpose and Shopper Action
Start by naming the goal: impulse purchase, cross-sell, product education, sampling, new-product awareness, seasonal promotion, or hands-on demonstration.
Then define what you want the shopper to actually do:
- Pick up the product without hesitation
- Compare it against a similar item
- Scan a QR code for more information
- Sample or test before buying
- Add a complementary product to their basket
Match the Format to the Product and Customer
Evaluate dimensions, weight, packaging fragility, price point, and how often the display needs restocking. High-security items (think electronics accessories) need different handling than a bin of candy bars.
Match display complexity to the buying decision:
- Quick, low-cost purchases → concise, grab-and-go formats
- Products needing comparison or explanation → informative or interactive formats
Assess Placement and Physical Constraints
Measure the actual available footprint, whether that's counter, floor, wall, or checkout space. Then check:
- Sightlines and queue movement
- Accessibility for all shoppers
- Electrical access, if needed
- Mounting restrictions
- Retailer-specific placement rules
Front-end merchandising research backs up why sightlines deserve real attention. One eye-tracking case cited in a 2015 front-end merchandising report recorded 24.9 seconds of viewing time on a primary display with no obstruction, compared to just 10.6 seconds when a secondary display blocked part of the view.

Crowding the checkout zone with too many competing displays can undercut the one that matters most.
Plan Design, Materials, and Durability
Every display needs a clear hierarchy: a visible brand or product, one primary message, legible supporting copy, and an obvious call to action. Test the design from a typical shopper's viewing distance, not just on a screen.
Choose materials based on campaign length, product load, cleaning needs, transportation, and expected field wear, not appearance alone. A display that looks great in a rendering but collapses after three weeks of restocking isn't doing its job.
Plan for Rollout, Fulfillment, and Ongoing Support
For multi-location programs, the details that seem small on paper become real headaches in the field: pack-out instructions, kitting, assembly requirements, replenishment, replacement parts, and store-level setup guidance.
Chicago Show works as a display-program partner for multi-location rollouts. Support covers concept development, in-house engineering, production, quality oversight, kitting, pack-out, fulfillment, and recurring program management across retail, CPG, automotive, and dealer environments.
For brands deploying displays across dozens or hundreds of locations, one accountable partner from first sketch through reorders often matters more than the display's appearance alone.
Validate Before Approving Production
Resist the urge to choose the most advanced format when a simpler display accomplishes the same goal with less cost, maintenance, and operational risk.
Watch for these common trade-offs before finalizing:
- Limited counter space that forces awkward placement
- Replenishment that requires disassembly
- Weak stability once product weight shifts
- Power requirements the retailer won't approve
- Too much copy for a shopper to read in passing
- Materials that won't survive repeated handling
Before authorizing a full rollout, review a prototype or production sample. Check dimensions, graphics, assembly steps, product fit, stability, and message clarity in person. A sample on your desk reveals problems a rendering never will.
Conclusion
A point-of-sale display is a checkout-focused merchandising tool. It improves visibility, clarifies offers, supports add-on purchases, and reinforces the brand at the final stage of the shopper's journey.
Countertop, floor, signage, product-access, digital, and specialty formats each serve different products and operating conditions. There's no single "best" format, only the right one for your product and store environment.
For brands that need displays to arrive as specified, stay consistent across locations, and hold up in the field, Chicago Show has supported custom display programs since 1902. The company manages concept through production, delivery, and ongoing program support for retail, CPG, automotive, and dealer networks.
Frequently Asked Questions
Can you give me some examples of POS displays?
Common examples include countertop counter display units (CDUs), freestanding units, dump bins, shelf talkers, posters, product dispensers, digital screens, lightboxes, and interactive demo units. The best option depends on your product type and where shoppers encounter it.
What is the difference between a POS display and a POP display?
POS displays are located at or near checkout. POP displays can appear anywhere in the store where shoppers make purchase decisions, including aisles and endcaps.
What products work best in a point-of-sale display?
Small add-on products, accessories, samples, seasonal items, convenience goods, and complementary products all work well. Anything that benefits from a quick final reminder or a short explanation is a good candidate.
How do I choose the right point-of-sale display?
Start with your objective and the shopper action you want. Then factor in product dimensions, available space, campaign duration, durability, replenishment needs, budget, and retailer requirements.
Are digital POS displays better than static displays?
Digital displays offer changeable content and interactive potential, but they add power, maintenance, and content-management requirements. Choose based on the campaign goal, not the technology itself.
How can I measure whether a POS display is working?
Compare product sales before and after installation, track stock movement, and watch for display engagement or scan activity where applicable. Weigh those results against installation quality and the cost to produce and maintain the unit.