
Many retailers struggle to make that glance count. A display can look attractive and still fail if it buries the message under too many props, poor lighting, or competing products. Good windows communicate one idea fast, point attention to the priority product, and set up what happens once the shopper steps inside.
This guide covers window display types, creative store ideas, design principles, how to move from concept to a store-ready program, and ways to measure whether a display is actually working.
Key Takeaways
- Match the display format to your store's space, sightlines, and shopper journey.
- Build each window around one story or focal point, not a crowded mix of products.
- Plan for durability, lighting, storage, and consistency across multiple locations.
- Measure engagement and featured-product sales, not just foot traffic.
Types of Retail Window Displays
A window display is one piece of a larger visual merchandising plan that also includes in-store fixtures, signage, and product adjacencies. The window's job is narrower: stop a passerby and set up the story the rest of the store will finish.
Open, Closed, and Semi-Closed Displays
Open window displays let shoppers see straight through to the sales floor. Shopify's 2026 retail guide describes this format as merchandise staged against the visible store interior rather than a separate backdrop, so the interior itself becomes part of the presentation.
That demands clean sightlines, concealed wiring, and finished fixtures visible from multiple angles, because nothing behind the glass is hidden.
Closed window displays use a solid backdrop to separate the window from the interior entirely. This creates a controlled stage for storytelling, dramatic lighting, and premium product presentation, since nothing competes for attention.
Semi-closed displays split the difference. Partial walls, fabric panels, or screens block some sightlines while still letting shoppers glimpse the store beyond, giving designers more control without fully sealing off the interior.
Corner, Island, Elevated, and Shadowbox Formats
Four additional formats solve specific placement problems:
- Corner displays face two intersecting windows, addressing people approaching from either direction.
- Island displays stand freestanding and away from a wall, visible from multiple sides.
- Elevated displays use a platform or riser to lift a featured product, improving visibility from farther down the sidewalk.
- Shadowbox displays isolate one item or a small collection inside an enclosed case, suited to small, high-value products.
Choosing the Right Format
| Format | Best use | Primary advantage | Practical constraint |
|---|---|---|---|
| Open | Stores with an appealing interior | Connects window to sales floor | Requires a clean, finished interior |
| Closed | Premium or seasonal storytelling | Full control of lighting and focus | Loses interior visibility |
| Semi-closed | Mixed storytelling and visibility | Balances control with openness | Needs careful panel placement |
| Corner | Intersections, high foot traffic | Reaches shoppers from two directions | Requires two matched scenes |
| Island | Open floor plans, pop-ups | Visible from all sides | Needs more floor space |
| Elevated | Hero products, small stores | Improves distance visibility | May need structural support |
| Shadowbox | Jewelry, electronics, collectibles | Isolates a single item | Limited to small products |
These are format descriptions, not a conversion ranking. Retail and visual-merchandising sources don't show one format reliably outselling another, so pick based on your space, product size, and the story you want to tell.
Retail Window Display and Store Ideas
Once you've picked a format, the content inside it does the real work. Use these approaches to shape what shoppers see and what they do next.
Seasonal and Campaign Storytelling
Tie windows to launches, holidays, weather shifts, or brand moments. Keep the featured product as the visual anchor; seasonal elements should support it, not compete with it.
Strong seasonal and campaign windows usually:
- Link to a real launch, holiday, or brand moment
- Drop generic props that don't support the product
- Put the hero SKU or line front and center
- Use season only as context, lighting, or secondary props
Color-Led and Product-Led Displays
Monochromatic arrangements and color blocking draw the eye through contrast alone. Product-led builds work the same way when you stage around one clear focus:
- A single hero product staged with dramatic lighting
- Bestsellers grouped to show popularity
- New arrivals positioned as "just landed"
- Cohesive product groupings that suggest a complete look or use case
A freestanding Bettinardi golf putter display illustrates product-led design well: multiple putters with orange, red, and blue grips are staged against a black honeycomb-patterned backboard, letting color and shape carry the message without extra clutter.
Lifestyle and Use-Case Scenes
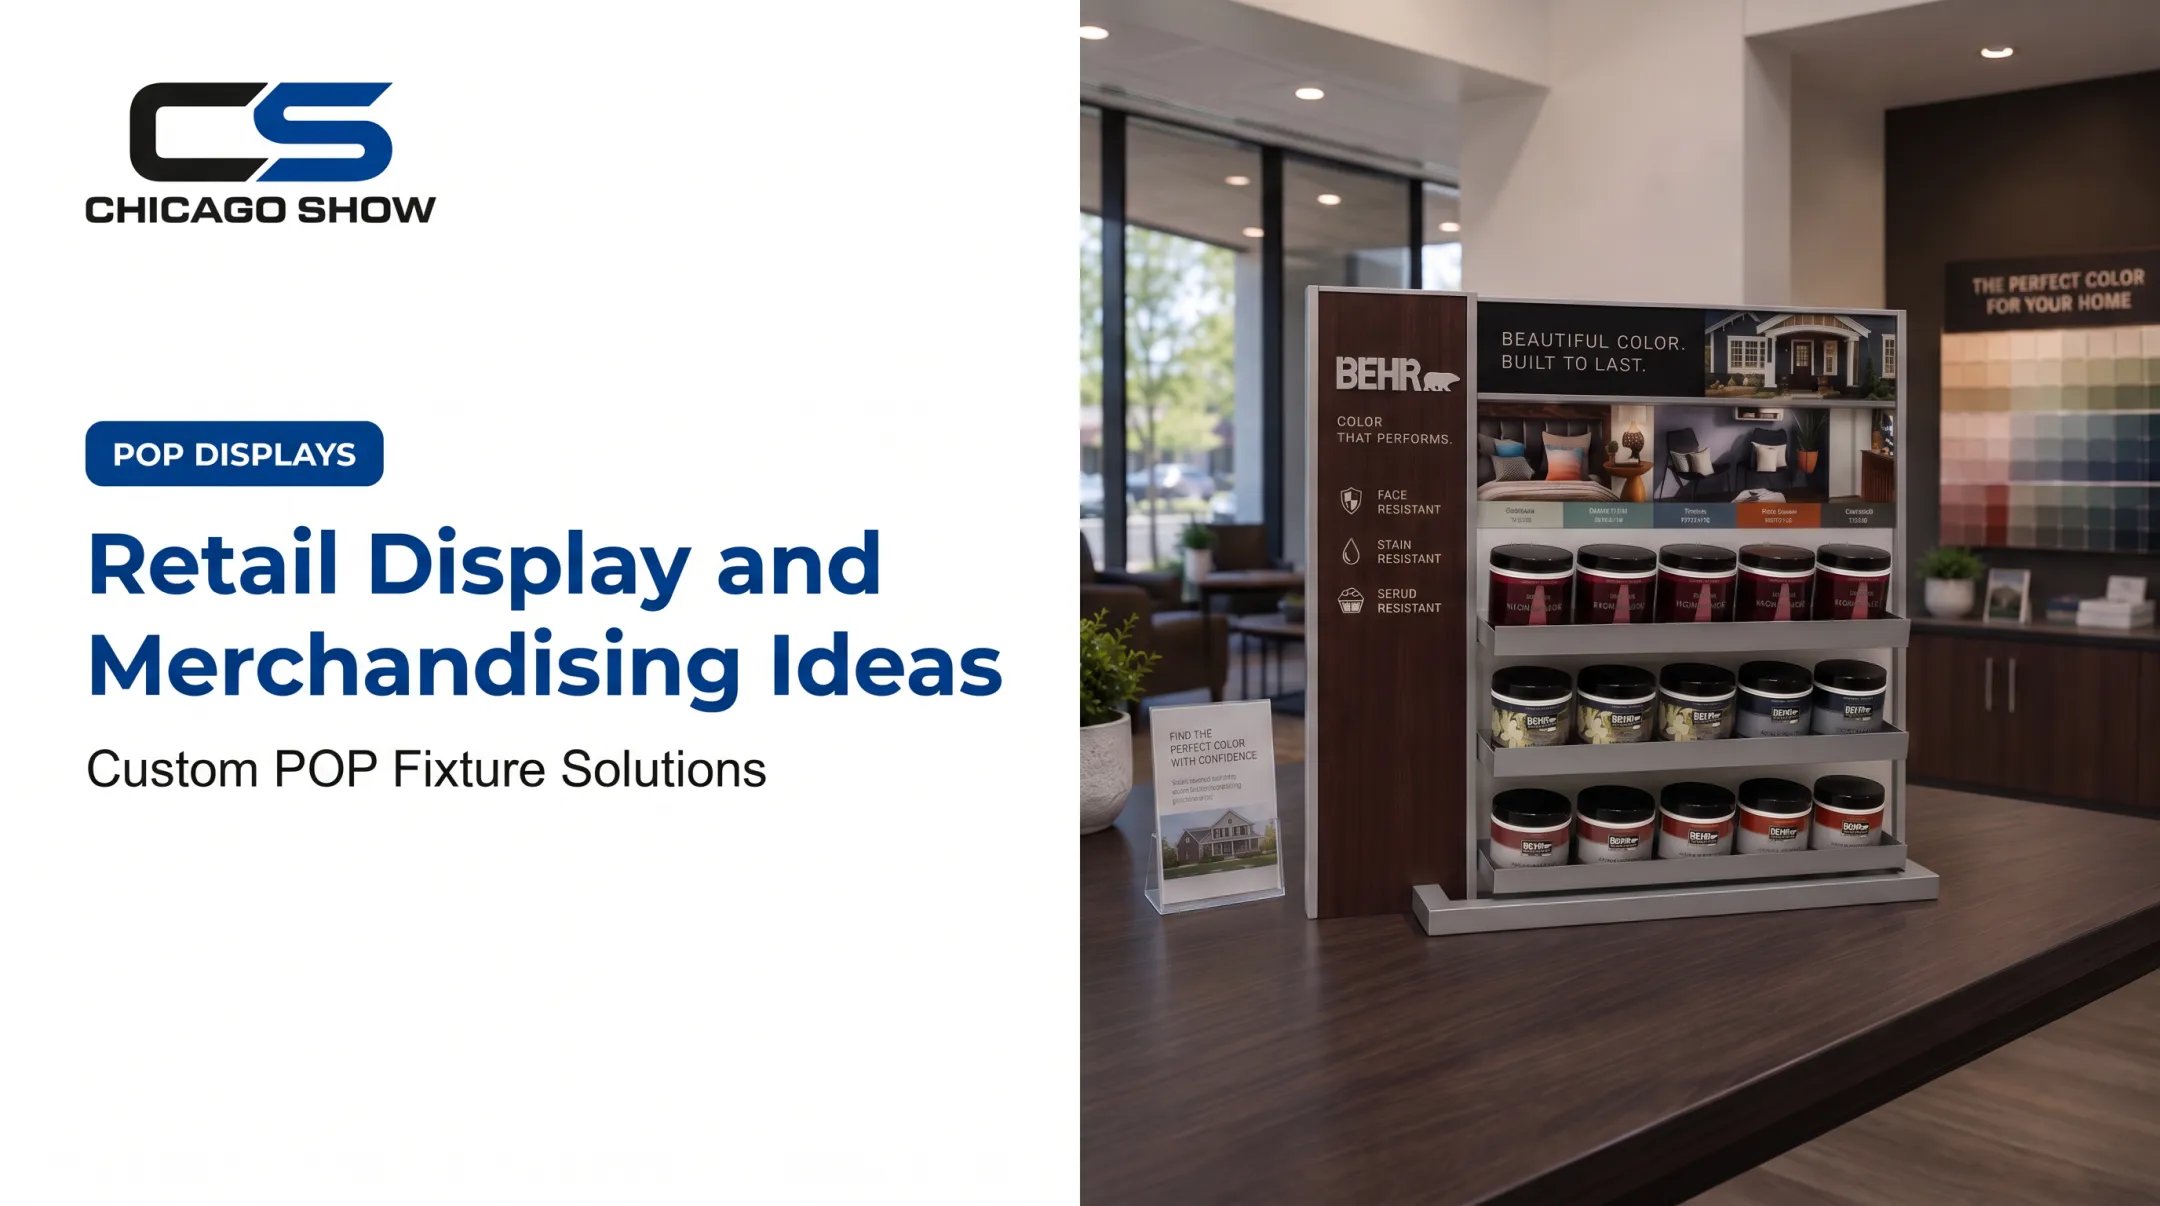
Showing a product in a realistic setting helps shoppers understand how it's actually used. The Behr Sample Center does this for paint, pairing tiered shelves of paint cans and color swatches with interior room imagery so shoppers can picture the color on their own walls before they commit.
Educational, Comparison, and Demonstration Displays
Some products need explanation before a shopper will buy. Cutaways, working components, and side-by-side comparisons solve that:
- Goodyear Engineered Products: working timing-belt cutaway with labeled gears, pulleys, and tensioner, plus a 60,000-to-100,000-mile replacement message
- Monroe Shocks & Struts: hands-on counter unit so shoppers feel the difference, paired with a 90-day risk-free trial
- Dunlop Motorcycle Tires: mounted tire with oversized tread section and a rebate message up to $40
Interactive and Omnichannel Ideas
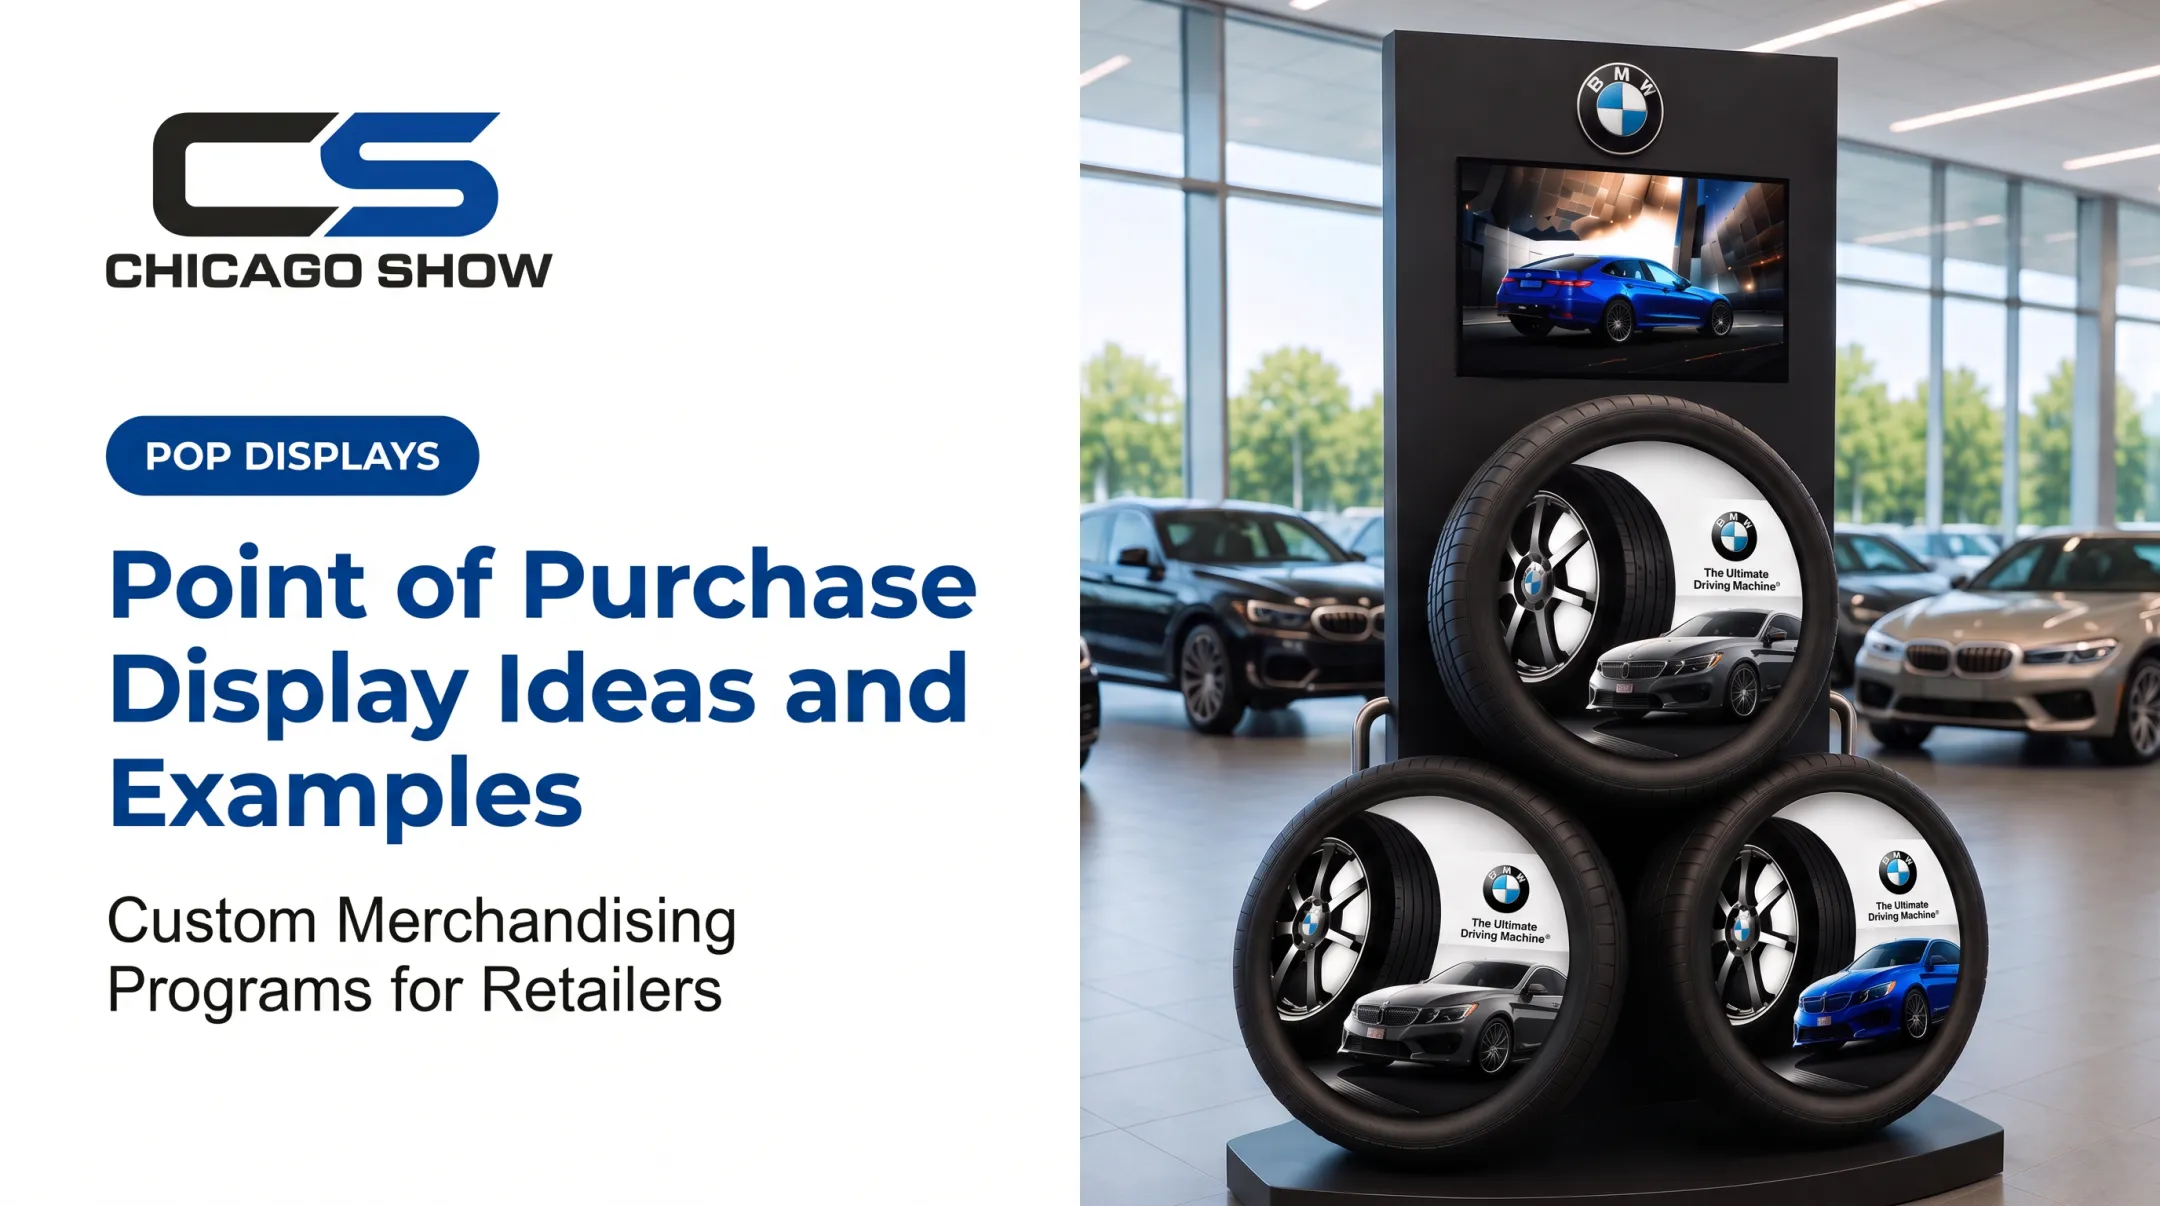
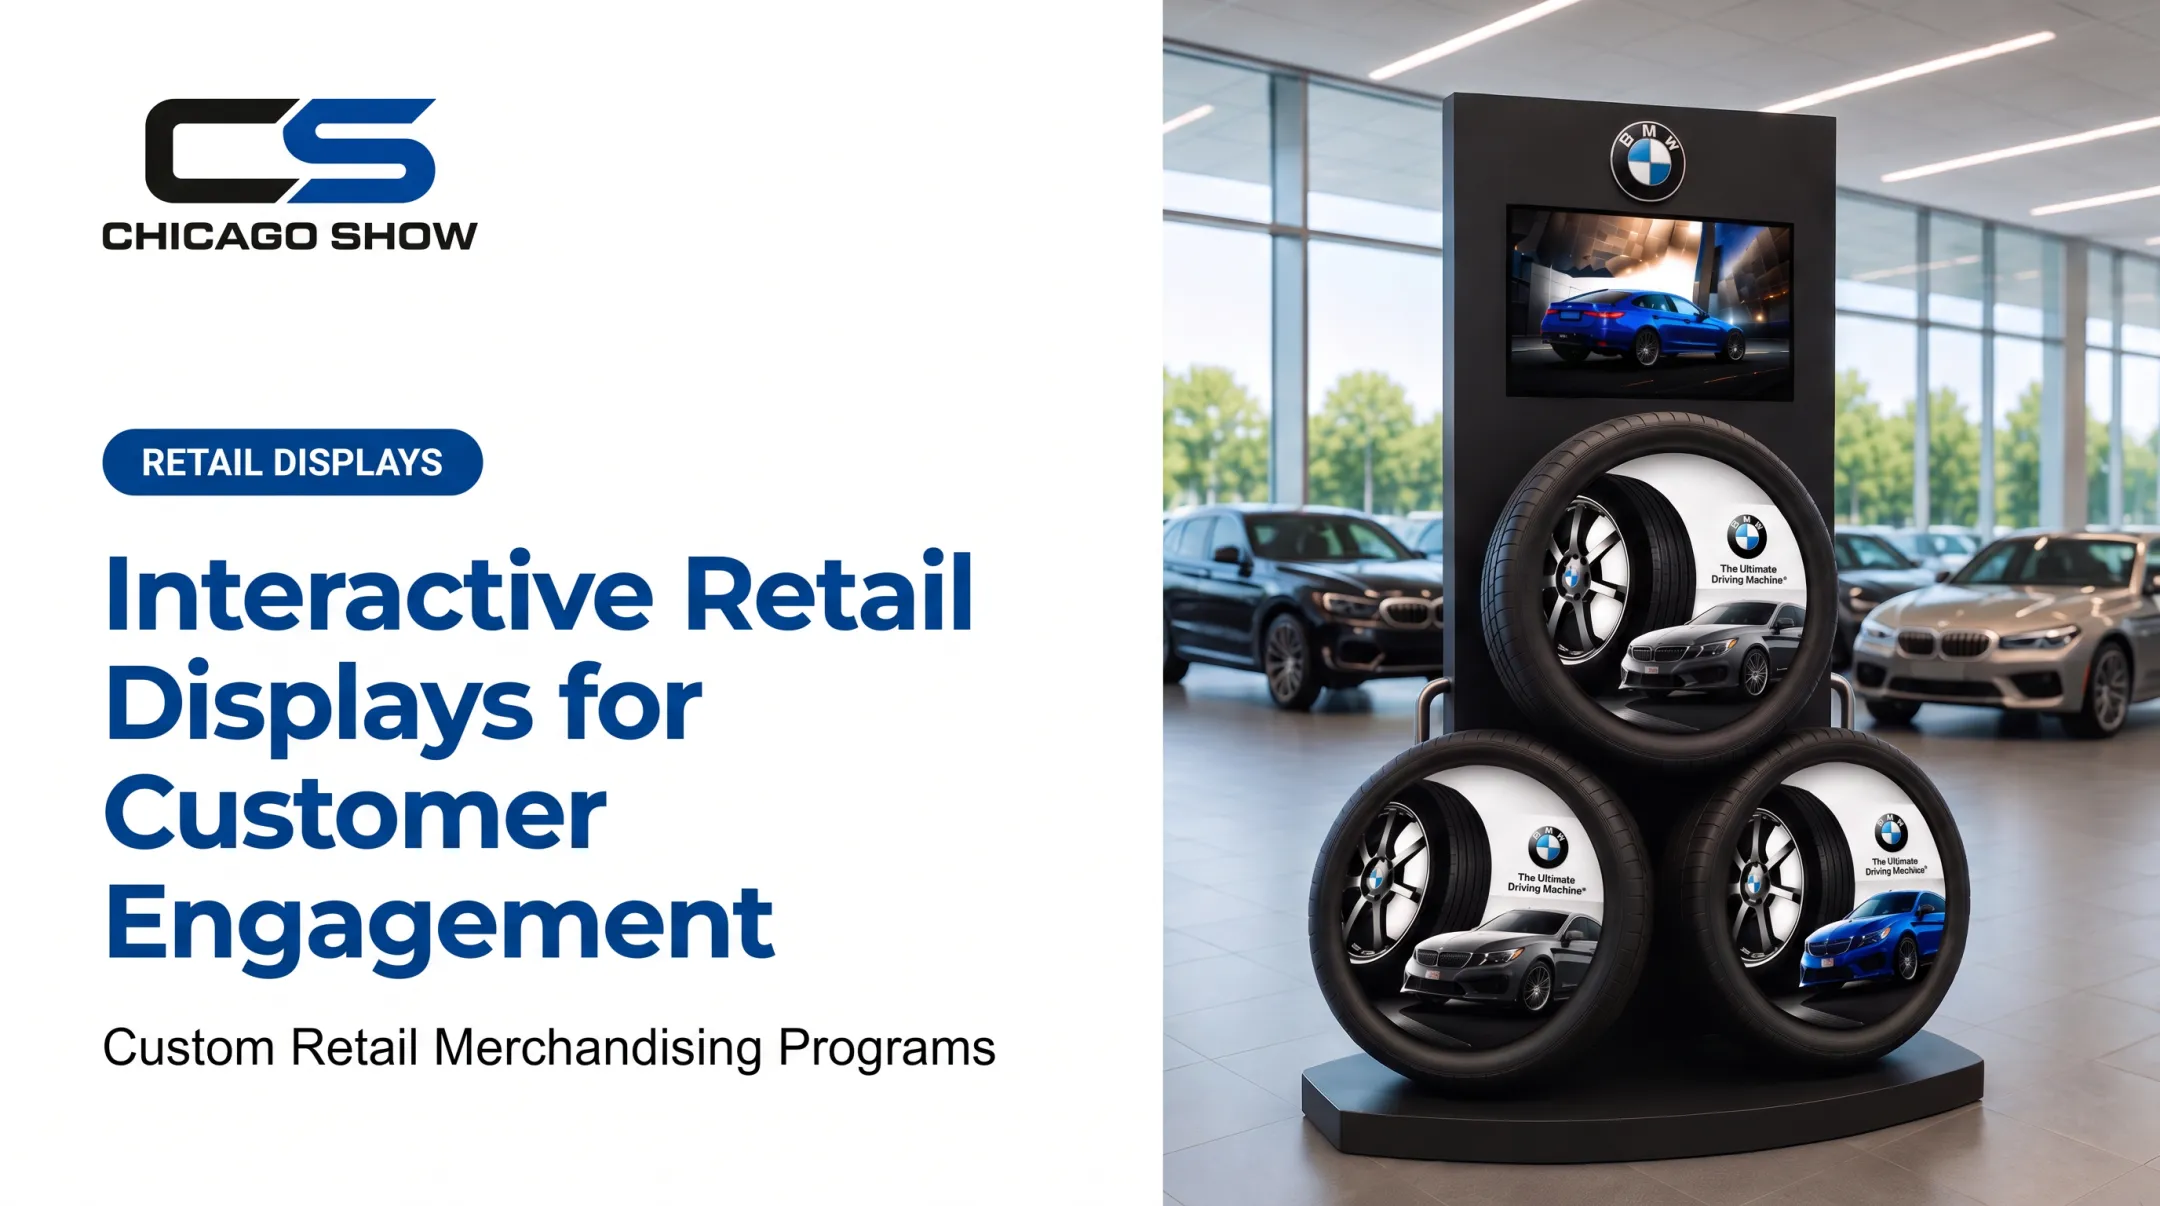
QR codes and scan-to-learn content can connect a window to online product details when the display has one clear call to action—not several competing ones. A freestanding BMW tire display with a top-mounted screen showing the vehicle in motion is a simple way to add motion to a static build.
Before you add a code, follow current accessibility guidance: print a URL beside the code for shoppers who can't or won't scan, and be clear about what any linked page collects from visitors.
Extend the Concept Into the Store
The window should set up, not replace, what's inside. Matching counter displays, wall units, floor fixtures, and sampling stations keep the story going after a customer walks in.
A STIHL branded fixture in a STIHL showroom—alongside chainsaws and battery-powered equipment—is a straightforward version of that continuity. Checkout racking (for example, shelving that wraps a cooler with snacks, bottled water, and magazines) carries merchandising all the way to the register.
Design Principles for Effective Retail Displays
Strong displays start with decisions made before anyone touches a material sample.
Start With Audience and Objective
Identify the shopper, the priority product, the desired action, and how you'll know it worked. Chicago Show's process begins the same way: understanding the product, environment, and business goal before any design work starts. Skipping this step is how you end up with a visually busy window that doesn't actually move anyone toward a purchase.

Build a Visual Hierarchy
Pick one focal point. Then use scale, elevation, contrast, and spacing to guide the eye from that focal point toward supporting information. If everything in the window is the same size and brightness, nothing stands out.
Keep the message readable at a glance:
- Limit competing copy to one headline and minimal supporting text
- Use legible typography sized for pedestrian viewing distance
- Test the display from realistic approach angles, not just straight on
Lighting as a Functional Tool
Treat lighting as structure, not decoration. Distinguish between ambient light, accent spotlights, backlighting, and illuminated graphics, and plan for glare, daylight changes, and shadows. A Lighting Design Lab guide, drawing on Illuminating Engineering Society recommendations, notes that vertical feature displays often benefit from accent lighting at 3 to 10 times the brightness of surrounding ambient light. That contrast helps the featured product stand out.
Power access and maintenance matter too. A display that looks great on install day but can't be relamped easily will look dim within a season.
Balance Creativity With Brand Consistency
Specify approved colors, logos, finishes, and tone so the display feels distinctive without drifting from the brand system. This is especially important across multi-location programs, where dozens of stores need to feel like the same brand even with local variation.
Plan for Accessibility and Safety
Review these details before install:
- Clear sightlines
- Stable fixtures and protected edges
- Heat sources and electrical routing
- Landlord or code requirements for the site
These items are easy to miss in a design review and expensive to fix after installation.
From Concept to Store-Ready Display Program
Moving from an idea to a display that works across real stores follows a fairly consistent path:
- Creative brief - define objective, product, audience, and timing
- Site and measurement details - window type, viewing angles, dimensions, product weights, lighting needs
- Sketches or 3D visualization - confirm the concept before committing to materials
- Material and finish selection - specified for the environment, not just appearance
- Prototype review - catch structural or visual issues early
- Production, inspection, and packing - build to spec, inspect, and protect units for transit
- Delivery and installation - get complete units on site and set correctly
- Post-launch review - confirm the display performs as planned in the field

The brief matters more than it sounds. Beyond the basics above, lock in store variations, installation constraints, storage needs, and expected refresh cycles. Skip those details and you'll find them out during installation—the expensive time to learn them.
Durability and Modular Design
Materials, structural support, and shipping protection determine whether a display still looks right after it travels to a store and sits through months of foot traffic and cleaning. Modular components and interchangeable graphics make seasonal refreshes faster, because you're swapping a panel instead of rebuilding the whole unit.
Chicago Show has managed display programs from concept through production and delivery since 1902. In-house engineering, materials specification, and quality oversight keep structure and function intact once a unit leaves the shop.
For multi-location programs, kitting, pack-out, and fulfillment support help complete units arrive ready to install. Recurring support covers reorders, refreshes, and new rollout waves as programs evolve over multiple years.
Choosing, Maintaining, and Measuring a Display Program
Selection Checklist
Before committing to a display format or program, evaluate:
- Store format and window geometry fit
- Product size versus shopper approach distance
- Brand objective and available budget
- Installation requirements and security needs
- Lighting plan and ongoing maintenance load
- Ability to scale across multiple locations
Maintenance and Refresh Planning
Displays need regular upkeep:
- Cleaning and lighting checks
- Graphic replacement
- Product replenishment
- Damage inspections
Build a documented process for reporting field issues so a burned-out accent light or a torn graphic panel gets fixed before it sits that way for a month.
Measuring What Actually Matters
Foot traffic alone doesn't tell you if a window worked. Track:
- Store entries
- Engagement or scan activity
- Featured-product sales
- Performance against the original campaign objective
A 2016 field study published in the Journal of Business Research observed 1,834 passersby at six main-street retailers and found that more-creative window displays drew stronger attention and store-entry behavior than less-creative ones. That's useful evidence that creativity affects entry, but it isn't a universal sales-lift percentage; results depend on the store, the category, and the specific display.

So when you compare display versions, factor in seasonality, concurrent promotions, inventory availability, and location differences before calling a winner.
Frequently Asked Questions
What are the main types of window displays?
Main formats include open, closed, semi-closed, corner, island, elevated, and shadowbox. Each differs by backdrop, sightline, and viewing angle, and names can vary by retailer or designer.
What is a retail window display?
A retail window display is a storefront presentation built to attract attention, communicate a brand or product message, and encourage shoppers to enter or learn more. It is usually the first stop in the shopper journey.
What are the key retail window display trends for 2026?
Industry coverage points to modular and reusable components, interactive or digital elements like QR codes, sustainable material choices, and experiential storytelling. Treat these as reported design directions rather than confirmed sales results.
What are retail window displays called?
Common terms include storefront displays, store window displays, visual merchandising displays, window merchandising, and shop windows. Terminology varies by industry, region, and individual retailer.
How often should a retail window display be changed?
Timing depends on campaign goals, seasonality, foot traffic, and inventory. Many retailers set a refresh schedule tied to major seasons, with smaller product or lighting changes in between.
What makes a good retail window display?
A clear objective, strong focal point, readable message, appropriate lighting, brand consistency, and durable construction. It should also connect naturally to what the customer finds once they step inside.